Today a quick show and tell on how to add a simple, good looking volume light effect to your visualizations.
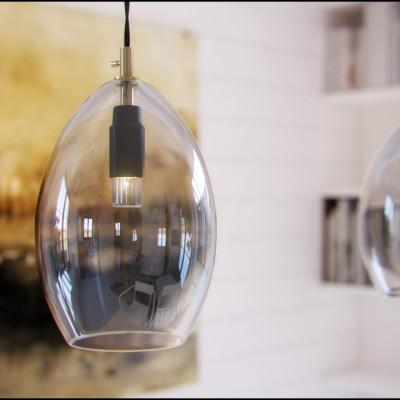
We are going to work on this image:
We begin by creating a new layer and, with the use of the Polygonal Lasso Tool, drawing a selection in which we will want the volume light to be placed:
Now select the Gradient tool and in its settings panel set it to radial and choose the color you’ll want your volume light to be:
IMPORTANT! Please notice that the gradient goes from a 100% opacity color to 0% opacity.
After doing this, with the selection still on, draw a gradient from where you assume the light source should be to where the volue light should end:
Lets do a deselect now. This is the result you should have now:
Apply a gaussian blur to your layer with the created gradient. The radius of your blur will determine the softness of the volume light borders:
IMPORTANT! Remembre to deselect before applying the gaussian blur, otherwise the effect will only be applied inside the selection, leaving the gradient borders not blurred!
Now all we have to do is set the opacity of this layer so that it will look good:
FUN FACT!
After creating a volume light using the steps i described above, you can still change its color in the layers Blending options -> Color Overlay settings:
After all of this the final effect should look more or less like this:
Hope you’ll find this useful. Have fun!
Best regards
Szymon
[fbcomments]


